| |
2 week intensive package, teaching you everything there
is to know about conventional and custom painting. |
| |
| |
The Full 11 Day course can be tailored to suit both bikes or cars.
Designed for beginners, you will be taught all there is to know from repairs to full paint jobs.
Please read below for a break down of the course. |
| |
| |
Day 1: Metal Repairs |
I will take you through the assessment process. You will be taught how to price, calculate a realistic timescale and most of all to understand that it is not the size of the damage, but how that particular damage affects the next stage of the job. You will be given a bike tank or car wing (if on the car course) and it will be damaged beyond economical repair. I mean it will get hammered, thrown down stairs and get used as a skateboard. After the initial teaching, this is what you will fix and then later in the course apply full custom paintwork too. This is to teach you that all damage is fixable and that not all damage is the same. After you have learnt your basic hammer and body filler techniques, you'll see that it's really not rocket science to achieve this type of repair. Please look in our gallery for some examples of what you work with. Believe it when we say you will fix this in one afternoon! |
|
|
|
 |
|
|
|
|
|
| |
Day 2: Plastic / Fiberglass Repairs |
We will start the day by understanding the priming process and prime the metalwork from the previous day. You will not be taught how to paint at this stage, but now is the chance for you to throw some paint around and have some fun. Remember, we need to learn how to overcome problems, so I will expect drips in the primer from you. If you do not put them in, I will be happy to do this for you! Whilst your metalwork is drying in the booth, we will move on to plastic repairs. Again, we go from the worst possible cases of repair. Learning how to fix scuffs, cracks, holes, etc. You will be taught how to join pieces back together using the hot weld system and how to minimise the amount of product you use.
Plastic repairs are an essential part of the industry, whether on bike plastics or car bumpers. Once you are happy with plastics we will finish the day by sanding down your previously primed metalwork, removing all imperfections and getting ready for painting the following week.
|
|
|
|
|
|
|
|
| |
Day 3: Airbrushing |
The 3 day airbrushing package is quite intense as I will teach you how to work the airbrush correctly and become confident with it, to get that muscle memory working. There is little point in attempting artwork until you can master the airbrush without thought, so on day 1 this is what we do. For the full day we learn by the 'wax on wax off' technique, exercise after exercise. This is a fun day for us all, as there are many mistakes and much swearing! Students find my Jedi Knight method quite interesting too! The day ends on a high after you produce your first piece of art, leaving you eager to get on with.
|
|
|
|
|
|
|
|
| |
Day 4 and 5: Airbrushing |
| Without giving too much away, I cover everything from basic stenciling to a free hand mural of a woman's face. Our philosophy is that if you get thrown in at the deep end anything less will be basic, so all work covered over these next 2 days would be considered technical by all ready established airbrush artists. An enjoyable 3 days learning, you do not need to be an artist to airbrush. You will be amazed at what you can achieve. |
|
|
|
|
|
|
|
| |
Day 6: Pin striping |
| We start the weekend with the half day pin striping and aim to finish around 2pm. Pin striping is very enjoyable and easily overlooked by up and coming custom painters. You will learn how to select, look after and trim your brush; how to pull straight lines and go around curves. Once you have mastered the basics we do real time striping by out lining flames and adding to a design, taking something quite basic and turning it into a full custom job. |
|
|
|
|
|
|
|
| |
Sunday: Free Day |
Ok, now we are midway through the course we are finished until Monday. However, the Sunday is a free practice day and you can do what you like. I will open up for you in the morning, set you up and be on call for rest of the day. As you are no longer in a training environment, you tend to achieve your finest work under your own steam, so you get the workshop to yourself. How is that for value for money! The time is your own, so alternatively you could go home if you wish. |
|
|
|
 |
|
|
|
|
|
| |
Day 7: Conventional Painting |
This is where we step up the learning curve and go on to the 2-day conventional painting. During the first day we cover:
- Types of paint, primer, lacquer, thinners' and all other paint related products.
- Compressor and shop set up.
- Mixing paint.
- Types of spray guns.
- Spray gun exercises.
In the afternoon you will carry out your first paint job with the aid of a fine line. This is a "race replica" type paint job. Further things you will learn this day and during this paint job will be:
- How to lay paint, metallics and pearls.
- How to fade and blend
- Masking techniques
- Water based and solvent based paint
- Problem solving
Again, you will learn that painting is not a dark art and anyone can learn. Your eyes will now be opened to what you can achieve.
|
| |
|
|
|
 |
|
|
|
|
|
| |
Day 8: |
Lots going on today with your paint training and making you more self- reliant. You will tackle your second paint job. During the previous day you learned how to join colours together. Today you learn how to overlap them by taking on a more complicated design. All day you will be cutting around, under your own steam; mixing your own colours and achieving your own looks. Design techniques are overlooked in favor of common custom painting designs. These techniques are a big part of the paint (especially bikes) industry. You will also start learning how to lacquer. Lacquering is essential part of painting and can catch out even the most experienced of painters. Metal flake is also covered at this time. Lots happening today, to complete your conventional paint training. We may finish late, as more time is given to students that require more practice.
|
|
|
|
|
|
|
|
| |
On Day 9 & 10: Custom Painting |
Day 9 is where you put your skills into practice and get to play. After a few hours of demo's from myself on the following designs:
- Torn metal
- Checquers
- Wavy torn union jack
|
- Flames
- Back masking
- Metal paneling
|
- Marbleizing
- Custom fades
- Metal Flake |
At this stage you can fix, prep, airbrush, pin stripe and paint. You will now have a good understanding of how to administrate yourself, and are relatively self contained, so now is the time to shine and for me to take a step back as you now will carry out a full custom paint job.
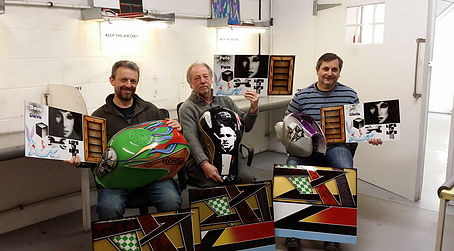
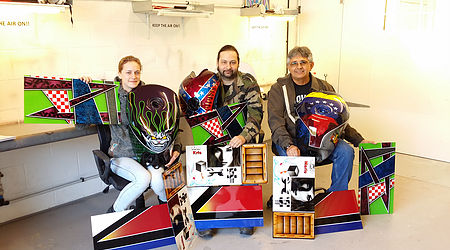
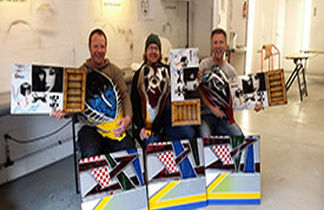
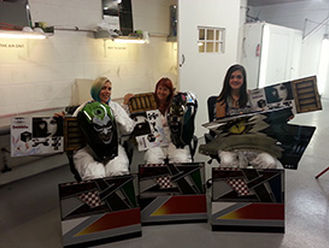
Once we have gone through the design process, and you have an idea of what you want to achieve the remainder of your 2 days are left up to you to come up with a work of art on the piece that you fixed on day one. You go through the full custom paint process, with all your artwork lacquered up to 3 times during this process. On average, around 10-15 coats of lacquer are applied during these 2 days. Do not be fooled by the quality of the work in our Student Gallery. All of these final projects have been completed during these 2 days. You have experienced real-time painting under your own steam, with me offering guidance wherever needed. An exhilarating few days, getting into your own zone and enjoying the steep learning curve.
These are your two days so you can steer your own training in a direction that is more relevant to your future work. So if your wanting more conventional type training you can always simplify your final project and use the rest of the time on something else, its up to you.
|
|
|
|
 |
|
|
|
|
|
| |
Day 11: Polishing |
Once we have applied the final lacquer from the previous night, it is now time to give your artwork a final flattening and machine polish in order to achieve a show standard. All students are amazed when they see all their little imperfections disappear, and achieve the best possible quality of finish.
The course finishes with a final debrief and issuing of your certificates.
The course will finish around 14:00 hrs.
|
| |
|
|
|
|
|
|
|
|
| |
|
| |
| |
| |
| |
| |
| |
| |
| |
| |
| |
|
| |
| |
|